Grip Fundamentals
Your grip is the foundation of every shot in padel. Unlike tennis, where players often change grips between shots, padel typically uses one primary grip for most situations: the continental grip.
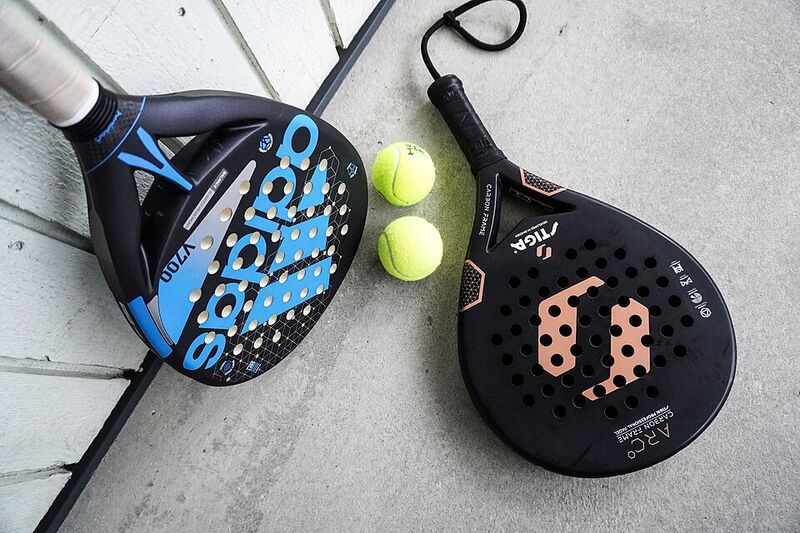
The solid paddle design of padel rackets means your grip affects not just power and control, but also the angle and spin you can create. Getting your grip right from the beginning will prevent bad habits and improve your game faster.
Why Grip Matters
- Control: Proper grip gives you better racket face control
- Power transfer: Efficient energy transfer from body to ball
- Versatility: Ability to hit different shots without grip changes
- Comfort: Reduces strain and prevents injuries
The Continental Grip
Finding the Continental Grip
The continental grip is the standard padel grip, suitable for serves, volleys, groundstrokes, and defensive shots.
Step-by-step process:
- Hold the racket with your non-hitting hand by the throat
- Shake hands with the handle using your hitting hand
- Place the base knuckle of your index finger on the top-right edge of the handle (right-handed players)
- Your thumb should run down the back-left side of the handle
- The "V" between thumb and index finger points toward your non-hitting shoulder
Visual Reference Points
If you imagine the handle as having eight sides like a stop sign:
- Right-handed players: Base knuckle on bevel 2 (top-right edge)
- Left-handed players: Base knuckle on bevel 8 (top-left edge)
- Thumb placement: Runs down the opposite side from your knuckle
Benefits of Continental Grip
- Versatility: Works for most shots without changing
- Volley control: Excellent for net play and quick exchanges
- Serve efficiency: Natural for the underhand serving motion
- Wall shot capability: Good for difficult angles off the walls
Proper Hand Positioning
Grip Pressure
How tightly you hold the racket affects both control and power:
- Scale of 1-10: Aim for pressure level 4-5 during general play
- Tighten for contact: Increase to level 7-8 at moment of ball contact
- Relax between shots: Return to lighter grip between points
- Avoid death grip: Too tight causes tension and reduces feel
Hand Placement on Handle
- Standard position: Hand in middle of the handle for most shots
- Choke up: Move hand higher for more control on delicate shots
- Full handle: Use entire handle length for maximum power when needed
- Consistent placement: Develop muscle memory for your standard position
Finger and Thumb Positioning
- Index finger: Spread slightly down the handle for stability
- Thumb: Wraps around and touches middle finger behind handle
- Remaining fingers: Close together, supporting the grip
- Wrist position: Neutral, not bent up or down excessively
Common Grip Mistakes
Tennis Grip Carryover
Many tennis players struggle with adapting their grips for padel:
- Eastern forehand grip: Too extreme for padel's versatile shot requirements
- Grip changing: Trying to change grips between shots like in tennis
- Western grips: Don't work well for volleys and serves in padel
- Two-handed backhand habit: Padel typically uses one-handed shots
Pressure Problems
- Too tight consistently: Causes arm fatigue and reduces touch
- Too loose at contact: Racket turns in hand, losing control
- Inconsistent pressure: Different tightness for similar shots
- White knuckle syndrome: Gripping tightly when nervous or pressured
Positioning Errors
- Palm grip: Holding too much in the palm instead of fingers
- Thumb on top: Placing thumb on top of the handle like a hammer
- Finger spreading: Spreading fingers too much, losing control
- Handle too high: Gripping too high up the handle consistently
Grip Variations for Specific Shots
Slight Adjustments Within Continental
Advanced players make minor grip adjustments while maintaining the basic continental position:
- Forehand side shots: Slight rotation toward eastern for more topspin
- Backhand side shots: Slight rotation for better backhand control
- Volleys: Standard continental, sometimes choked up for control
- Serves: Standard continental, full handle for power
Specialty Shot Grips
- Bandeja (overhead with spin): Standard continental works best
- Vibora (aggressive overhead): Slight adjustment for maximum spin
- Chiquita (soft return): Choke up on handle for delicate touch
- Wall shots: Standard continental for unpredictable bounces
Two-Handed Shots
While less common in padel, some players use two-handed grips for:
- Defensive backhands: When under extreme pressure
- Return of serve: Some players prefer two-handed return
- Low balls: Two hands can provide extra stability
- Junior players: Young players might need two hands initially
Developing Proper Grip
Practice Exercises
- Shadow swings: Practice grip and swing motion without a ball
- Wall hitting: Hit against a wall to develop grip feel and control
- Grip changes: Practice finding continental grip quickly with eyes closed
- Pressure variation: Consciously vary grip pressure during practice
Building Muscle Memory
Consistent practice develops automatic grip positioning:
- Daily practice: Even 5 minutes daily helps build muscle memory
- Consistent setup: Always find your grip the same way
- Mental rehearsal: Visualize proper grip positioning
- Feel awareness: Notice how correct grip feels in your hand
Correcting Bad Habits
- Video analysis: Record yourself to see actual grip position
- Coach feedback: Have someone check your grip regularly
- Slow practice: Practice gripping slowly and correctly
- Patient adjustment: Accept that changes take time to feel natural
Grip Maintenance
- Replace worn grips: Old grips affect feel and control
- Clean handles: Remove sweat and dirt that affect grip
- Try different materials: Some prefer tacky grips, others smooth
- Grip size consideration: Ensure handle size fits your hand properly
Equipment guide | Serving technique | Getting started
Last reviewed: March 2026